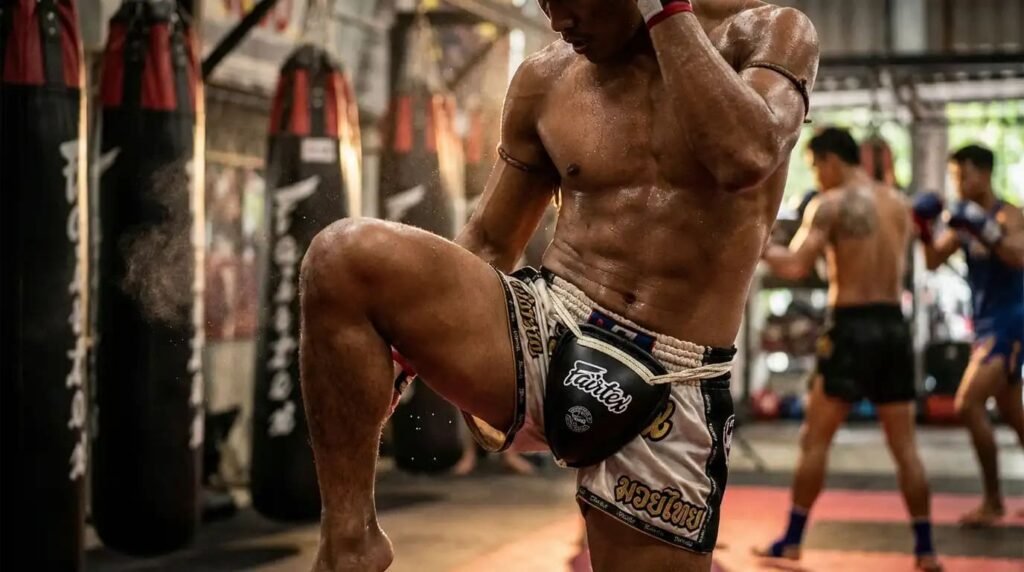

A standard boxing heavy bag is four feet long. Hang one at the height most people hang it and the bottom edge ends up somewhere around your waist. Now picture where a leg kick actually lands: the outside of the thigh, mid-quad, roughly two feet off the floor. Nothing is there. You can throw a thousand low kicks at a boxing bag and every one of them passes under the target, which is a decent explanation for why so many home-trained kicks look like they were learned from a screenshot.
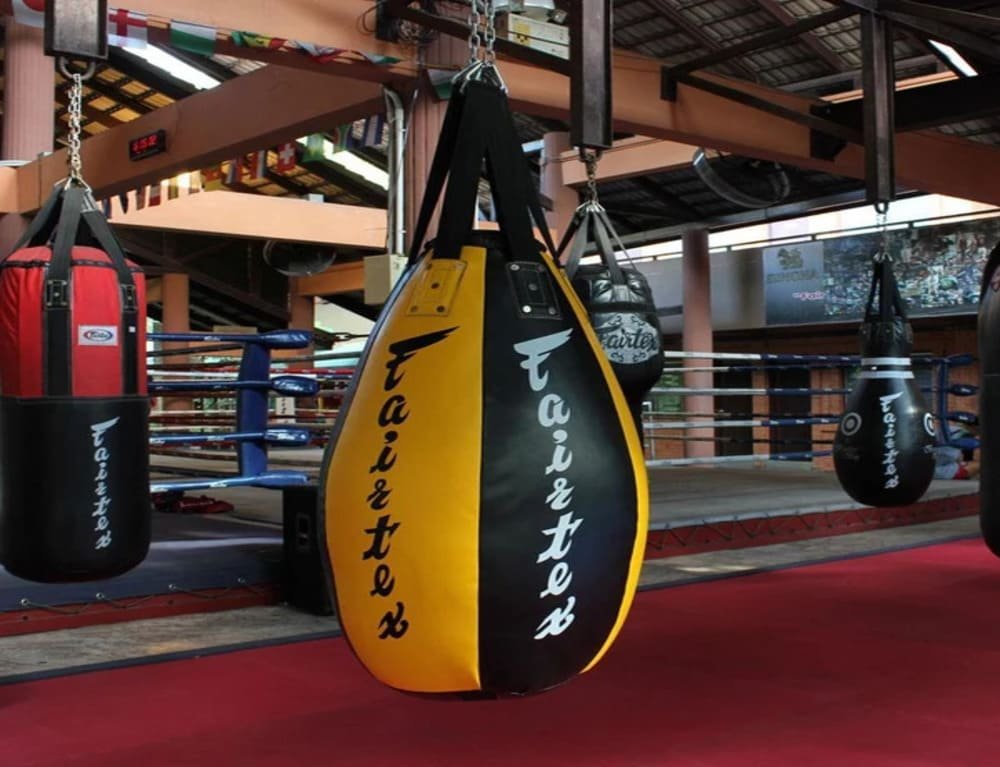
That gap is why Thai gyms hang long, narrow bags that stop a few inches above the floor. The shape of the equipment decides which techniques you are allowed to practice, and the four-foot cylinder quietly deletes about a third of the sport.
The four-foot problem
Boxing bags are built for a sport fought with two limbs at one height. Everything about them makes sense in that context: a fat middle for body shots, a top around chest height, enough swing to teach you to move your feet.
Muay Thai asks for more vertical range. The low kick lands at thigh level, the teep lands on the hip or the gut, knees land at the belt line and the middle kick lands anywhere from ribs to head. A bag that covers only one band of that range trains one band of your striking. Thai fighters spend rounds on bags that reach from ankle to eyebrow for exactly this reason, and the shape has barely changed since Lumpinee opened its doors.
There is a real counterpoint, and most gear guides skip it. A 130-pound six-footer barely moves when you hit it. Short, lighter bags swing hard, which forces you to time your entry, reset your stance, and stop standing square in front of a stationary target. Plenty of good coaches keep one of each in the gym for that reason. If you only ever hit the immovable bag, your distance control gets lazy in a way that shows up the first time you spar.
The bag family, side by side
| Bag type | Height / weight | What it trains well | What it can’t do | Price band (USD) |
| Banana bag (6 ft) | 6-7 ft, 100-150 lb | Low kicks, teeps, knees, long combos, full vertical range | Barely swings, no distance or timing work, needs high ceilings | $150-300 unfilled, $250-450 filled |
| Standard heavy bag | 4-5 ft, 70-120 lb | Hands, body shots, mid kicks, footwork against a swinging target | Low kicks land under it, knee work is awkward | $100-220 |
| Teardrop / angle bag | 3-4 ft, 60-100 lb | Uppercuts, elbows, knees, clinch-range work at an angle | Nothing below hip height, too short for long kicking combos | $80-200 |
| Pole / uppercut bag | 4-6 ft, straight or wall-anchored | Upward elbows, knees to the head, uppercuts, tight-range angles | Not a substitute for a hanging bag, limited kicking surface | $150-350 |
| Wall bag | 2-4 ft mounted panel | Hands, elbows, close-range power, apartments with no ceiling access | No kicks worth the name, no swing, no clinch | $150-350 |
| Free-standing bag | 5-6 ft on a weighted base | Punching, teeps, light kicks, garage floors with no mount points | Hard round kicks slide or topple it, base creeps across the floor | $150-450 |
Two rows in that table deserve a warning label. The pole bag looks like a niche purchase until you start throwing upward elbows and knees to the head, at which point it becomes the only thing in the room shaped like a human torso standing upright. And the wall bag is no compromise version of a heavy bag. Think of it as a hand-and-elbow tool, useful if you live on the third floor with a concrete ceiling and a landlord, useless if your goal is kicks.
Why most free-standing bags fail the kick test
The pitch is appealing. No drilling, no joists, roll it into the corner when your in-laws visit. Then you throw a proper round kick into it and the whole unit slides eighteen inches sideways, and you spend the round dragging it back. Sand in the base instead of water helps, but the physics do not change much: a base sitting on the floor absorbs a horizontal shin strike by moving.
They work for hands. They work for teeps if you are careful. Serious kicking on a free-standing bag is a compromise, and anyone who tells you otherwise has not thrown a hundred hard kicks into one.
The honest exception: a bag you can actually own beats a bag you cannot mount. If your ceiling is drywall over trusses you are not allowed to touch, and a stand will not fit, the free-standing bag you will use four times a week is worth more than the banana bag you will never hang.
Hang it lower than you think
Here is the fix nobody applies. Most home bags are mounted a foot too high, usually because the owner hung it where the chain reached and then never thought about it again.
The bottom of a Thai bag should sit 6 to 12 inches off the floor. That puts the lowest usable surface at your shin and knee, which is where a low kick belongs, and it lets you drive knees into the bag without them landing on empty canvas. The top should reach at least your own chin. On an eight-foot basement ceiling, a six-foot bag plus a mount and a short strap gets you almost exactly there, so buy the shortest hardware you can and skip the extra chain.
Do this today, before you buy anything: measure your ceiling, find your joists with a stud finder, and put a strip of painter’s tape on the wall at your knee height and another at your chin. If your ceiling is 7 feet 6 inches, a six-footer will not fit and you should be shopping for a five-foot bag or a wall-mounted option instead of being talked into the big one.
Joists, brackets, or a stand?
A 100-pound bag does not pull 100 pounds. A hard kick into a swinging bag produces a shock load several times the static weight, repeatedly, for years. That is the number your mount has to survive.
Ceiling mounts are the best option when you have access. Span two joists rather than hanging from one, either with a purpose-built plate that bridges them or with a 4×4 sitting in joist hangers between them. Anything that puts the entire load into a single 2×4 and four lag screws is a slow-motion accident. Add a spring or rubber shock absorber between the mount and the swivel: it cuts the peak load and takes a surprising amount of noise out of the ceiling.
Wall brackets need studs, and studs are usually 16 inches on center, which means the bracket has to reach two of them. Check the rated capacity before you buy the bag rather than after. A 125-pound banana bag is near the ceiling of what most consumer brackets are built for, and a bracket rated for 100 pounds with a 125-pound bag on it is not a safe setup even if it holds for a year.
Stands are the last resort. The cheap tubular ones walk across the floor and rattle, and the heavy-duty ones with plate-loaded bases work, cost as much as a decent bag, and take up a footprint of about six feet by six feet.
Filling: sand is a trap
Weight before filling. Half your bodyweight is the boxing rule, and it runs light here. Aim for 60 to 75 percent, floor of 100 pounds. A 150-pound trainee wants 100 to 115 pounds, a 200-pounder wants 130 to 150. Lighter than that and hard round kicks fold the bag in half.
As for what goes inside: sand is cheap, dense, and it ruins bags. Loose sand migrates downward and compacts, and after a few months the bottom third of your bag has the give of a curb. Your shin lands on precisely that section, which is how people end up abandoning a bag they paid $300 for.
Better fills, in order. Shredded textile or rag scraps, which is what Thai gyms have used forever and which stays about the same density top to bottom. Rubber chips or crumb rubber, heavier and quieter, and they barely settle at all. Or a hybrid, where a sand core is sealed inside a smaller bag, wrapped in cloth, and kept in the upper half where your shins never land.
However you fill it, pack in layers and compress each layer hard before adding the next. Skip that and you get a hollow neck up top and a dead lump at the bottom within a month. Expect the whole thing to settle for the first two or three weeks; plan on opening it up and topping it off once.
One more thing that gear guides tend to soften. A properly filled 130-pound bag is a hard object, and hitting one with unconditioned shins and unwrapped hands hurts in a way that stops progress. Wrap your hands every session, start at half power, and build up over weeks. If your shins are new to this, read up on shin conditioning before you go looking for pain on purpose. Rolling a bottle over your shins is not the answer.
Noise, neighbors, and what to buy first
Impact travels through the structure, not the air, which is why the neighbor below hears your bag more clearly than the neighbor next door. Three things help, and all three are cheap compared to a dispute with your building: a horse stall mat under the bag, a spring or rubber absorber at the mount, and rubber-chip filling instead of sand. Get all three right and the loudest thing in the room is your own breathing.
If you have around $300 and one purchase to make, buy a six-foot banana bag, unfilled, and fill it yourself with rags and rubber. Shipping 130 pounds costs real money, and self-filling gets you the density you want instead of whatever came out of the factory hopper. Put the rest into a proper joist mount and a shock absorber. Skip the stand, skip the teardrop, skip the “complete kit” with the gloves you will replace in three months.
The pole bag and the teardrop are second-bag purchases for people who already train and know what their elbow game is missing. The wall bag is for apartments. The free-standing bag is for renters who accept that their kicks will be half-trained until they move somewhere with joists.
And once it is hanging, the bag is only as good as what you do with it. Ten minutes of aimless punching does very little; structured rounds with a purpose do a lot, and there are three bag routines worth stealing if you need a starting point. Buy the shape that lets you throw every technique the sport has, hang it low enough to use all of it, and fill it with something that will still feel like a body in two years.