

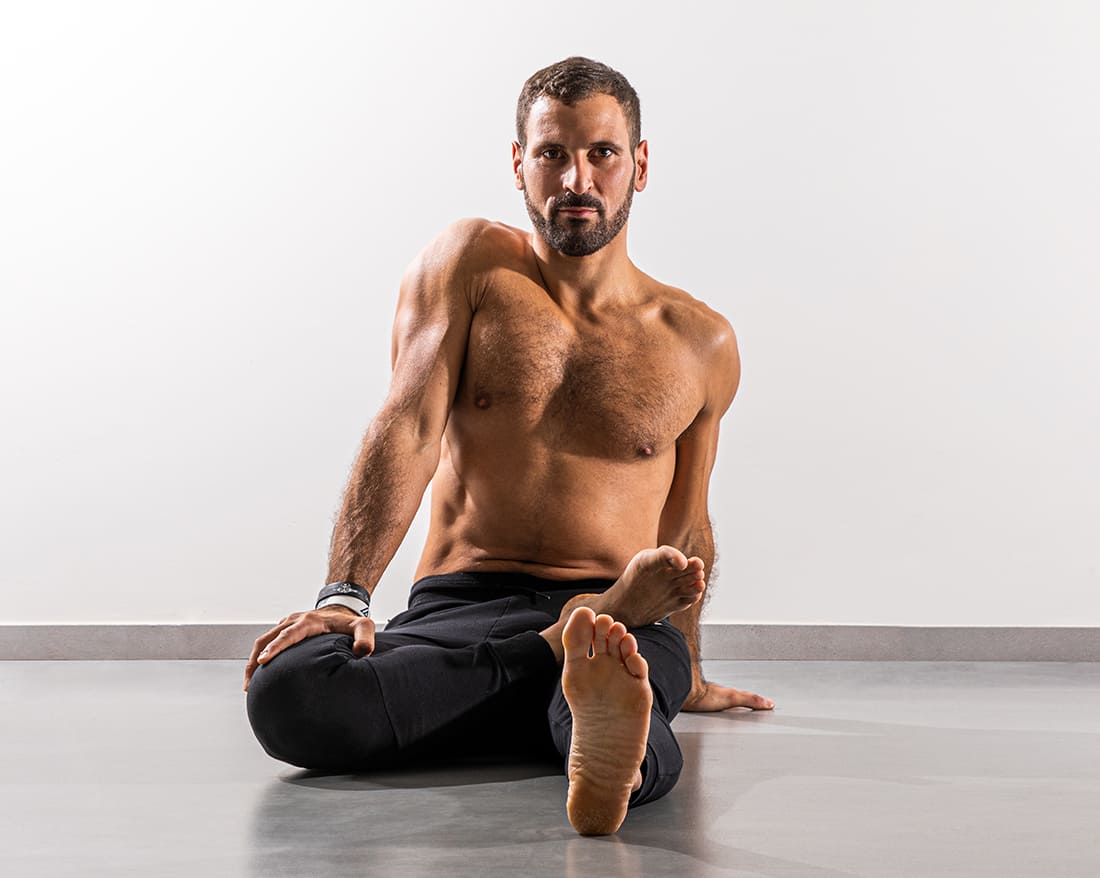
The honest answer sits in the middle. A motivated beginner can build a genuine striking base at home: stance, footwork, combinations, conditioning, all of it. Nobody becomes a fighter without a gym. Solo work builds the tools. Only training partners test whether those tools actually work under pressure.
That distinction matters because most “learn Muay Thai at home” content sells one side or the other. Either it pretends a phone and a living room can replace a gym, or it dismisses home training as useless shadowboxing. Neither is accurate. What follows is a specific eight-week program built around what actually transfers from solo practice to real skill, and a plain list of what doesn’t.
Can You Actually Learn Muay Thai at Home?
Yes, for a defined slice of the sport. Stance, guard position, basic footwork patterns, the mechanics of a jab, cross, teep, roundhouse kick, elbow, and knee, these can all be drilled alone in front of a mirror until they look correct and feel automatic. Conditioning work (the gas tank, the core, the legs that absorb kicks) builds identically whether a training partner is present or not.
What can’t be replicated is timing against a live opponent, distance management under real pressure, and the feedback loop a coach provides in real time. A beginner training solo for eight weeks will walk into a gym with better fundamentals than someone who shows up cold. That beginner will still get outclassed in the first sparring round by someone with three months of partner drilling. Both things are true at once.
What You Can and Can’t Train Solo
Split the sport into two buckets and the plan writes itself.
Trainable alone: stance and guard, footwork patterns (switching, pivoting, cutting angles), the individual strikes in isolation, combination sequencing, conditioning (strength, endurance, core), and flexibility work for kicks.
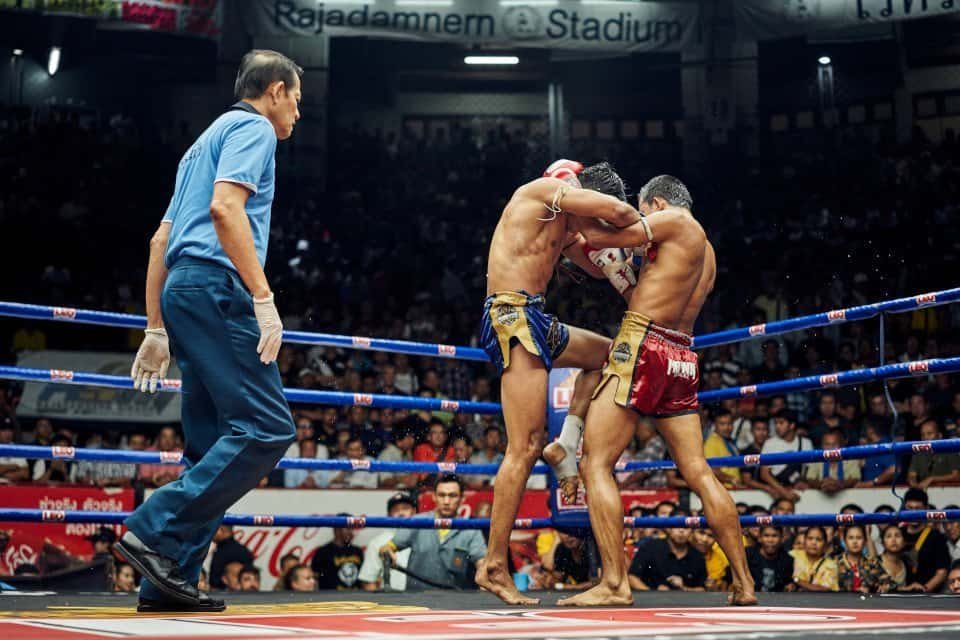
Not trainable alone: clinch work of any kind. Reading an opponent’s rhythm and timing a counter. Adjusting range against someone who’s actually trying to hit back. Sparring, obviously, and everything sparring teaches about pain tolerance and composure under contact.
The clinch deserves its own callout because it’s the piece home trainees most often try to fake with a pillow or a wall, and it doesn’t work. Clinch is two bodies fighting for position and off-balancing each other in real time. There’s no solo substitute. Same with timing. A beginner can shadowbox a flawless five-punch combination in the mirror and still freeze the first time a real opponent feints. That gap only closes with a partner.
The 8-Week Plan
The structure below assumes zero equipment beyond a phone camera and a bit of floor space. Rounds are shadowboxing rounds unless noted. Rest between rounds is 60 seconds, standard for Muay Thai training.
| Week | Focus | Rounds | Minutes/Day |
| 1 | Stance, guard, jab-cross | 4 x 2-min rounds | 20-25 |
| 2 | Footwork basics, teep introduction | 5 x 2-min rounds | 25-30 |
| 3 | Combinations (jab-cross-teep), mirror correction | 5 x 3-min rounds | 30-35 |
| 4 | Elbows and knees added, conditioning block starts | 6 x 3-min rounds | 35-40 |
| 5 | Longer combo chains, power emphasis | 6 x 3-min rounds | 40-45 |
| 6 | Speed rounds, footwork under fatigue | 7 x 3-min rounds | 45-50 |
| 7 | Video self-analysis, targeted correction rounds | 6 x 3-min rounds | 40-45 |
| 8 | Full simulated round test, conditioning peak | 8 x 3-min rounds | 50-55 |
Weeks 1-2: Building the Base
The first two weeks are unglamorous on purpose. A beginner spends most of week one just standing correctly: weight distributed roughly 50/50, chin tucked, elbows in, hands up near the cheekbones. Then the jab and cross get isolated and repeated until the hips rotate without being told to.
Week two adds the teep and basic lateral footwork. Nothing gets rushed here. Sloppy footwork learned in week one calcifies fast and takes months to unlearn later. A slower start now saves real time down the line.
Weeks 3-4: Adding Combinations and Conditioning
By week three the individual strikes link into sequences. Jab-cross-teep. Cross-hook-roundhouse. This is also when conditioning enters the routine as its own block, separate from the shadowboxing: jump rope, bodyweight squats, planks, and basic core circuits stacked after the striking rounds rather than mixed into them.
Week four introduces elbows and knees, trained in isolation first, then folded into short combinations. These strikes are compact and easy to practice safely in a small space, which makes them well suited to home training. A speed training routine layered in around this point sharpens the hand speed that makes combinations look sharp rather than telegraphed.
Weeks 5-6: Speed and Volume
Here the rounds get longer and the pace picks up. Week five pushes combination length and encourages committing real power to strikes rather than pulling them, since there’s no partner to hit. Week six is the hardest block in the program: seven rounds, footwork drilled specifically under fatigue, because footwork that collapses when tired is footwork that fails in a real fight.
This is also where most beginners quit. The novelty has worn off, the gains feel invisible, and the temptation to skip a day is strongest right here. Push through week six and the rest of the program gets easier by comparison.
Weeks 7-8: Testing What You’ve Built
Week seven shifts to review. Every round gets filmed and watched back the same day, with corrections applied immediately in the next round rather than saved for “someday.” Week eight closes the program with a full simulated round test at competition length and a final conditioning push, essentially a solo audit of everything trained over the previous seven weeks.
Shadowboxing Structure by Round
Generic shadowboxing (just throwing punches loosely for a few minutes) wastes most of its value. Structured shadowboxing has a job for every round.
Round one is always a movement-only warm-up: footwork, stance transitions, no strikes at all. Round two isolates a single technique at half speed, checking form in the mirror on every rep. Round three builds that technique into combinations at moderate pace. Round four pushes speed and power on the same combinations. Any round beyond four in the later weeks becomes a “live” round: imagining an opponent reacting, throwing combinations in response to imagined openings rather than on a fixed count.
That last type of round matters more than it sounds like it should. Reacting to something, even something imagined, trains a different mental pathway than counting out a fixed sequence. It’s the closest a solo trainee gets to simulating a live exchange.
Minimal Equipment Worth Buying
None of this requires a home gym. A short list covers everything worth spending money on before month two:
- A jump rope, cheap and effective for footwork and conditioning
- Hand wraps, to build the habit early even without a bag
- A full-length mirror or a phone tripod for constant form checks
- A resistance band for shadowboxing with light tension on the arms
- A yoga mat for core work and stretching
A heavy bag is worth adding later, once technique is solid enough that repetition on a bag reinforces good habits instead of bad ones. Buying one in week one, before the fundamentals are in place, usually just grooves poor mechanics faster.
How to Self-Check Your Technique
Filming every round isn’t optional if the goal is real improvement. Set the phone on a tripod or against a stack of books, film from the side and from the front on alternating days, and watch the footage back within the same session while the movement is still fresh in memory.
Three things to check on every review: does the chin stay tucked when punches land, does the rear hand return to guard after every strike, and does the back foot stay light enough to pivot instantly. Most self-taught flaws live in those three spots. A beginner who fixes guard-drop and heavy back-foot habits in month one arrives at a gym looking meaningfully more coachable than one who never checked at all.
When You Must Join a Gym
There’s a point where home training stops adding value and starts wasting time, and it usually arrives around week six or seven of a program like this. Once the fundamentals are grooved and conditioning is solid, everything left to learn (clinch, live timing, sparring composure) requires another human body.
Walking into a gym after eight weeks of structured solo work looks completely different from walking in cold. A beginner who has followed something like the beginner’s guide to Muay Thai training alongside this home program shows up with clean stance, working footwork, and enough conditioning to survive a full class without falling apart in round two. That’s the entire point of the eight weeks: not to skip the gym, but to stop being the slowest person in it.
FAQ
Can you really learn Muay Thai at home with zero gym access? Only the technical and physical foundation: stance, footwork, striking mechanics, conditioning. The clinch, live timing, and sparring require a partner and can’t be substituted, no matter how disciplined the home routine is.
How long before someone training at home could handle a real class? Eight weeks of consistent, structured practice is enough to walk into a beginner class without looking lost. It is not enough to spar competently. That still takes months of partner work regardless of how strong the home foundation is.
Is shadowboxing every single day too much? Daily shadowboxing is fine as long as intensity varies. Following the round structure above, alternating harder weeks with lighter ones, prevents the joint strain that comes from throwing full-power strikes at high volume every day without variation.
Do you need a heavy bag before starting this plan? No. A bag is genuinely useful once technique is already solid, somewhere around week five or six of this program. Buying one earlier tends to reinforce sloppy mechanics before there’s anything solid to reinforce.

One Comment